
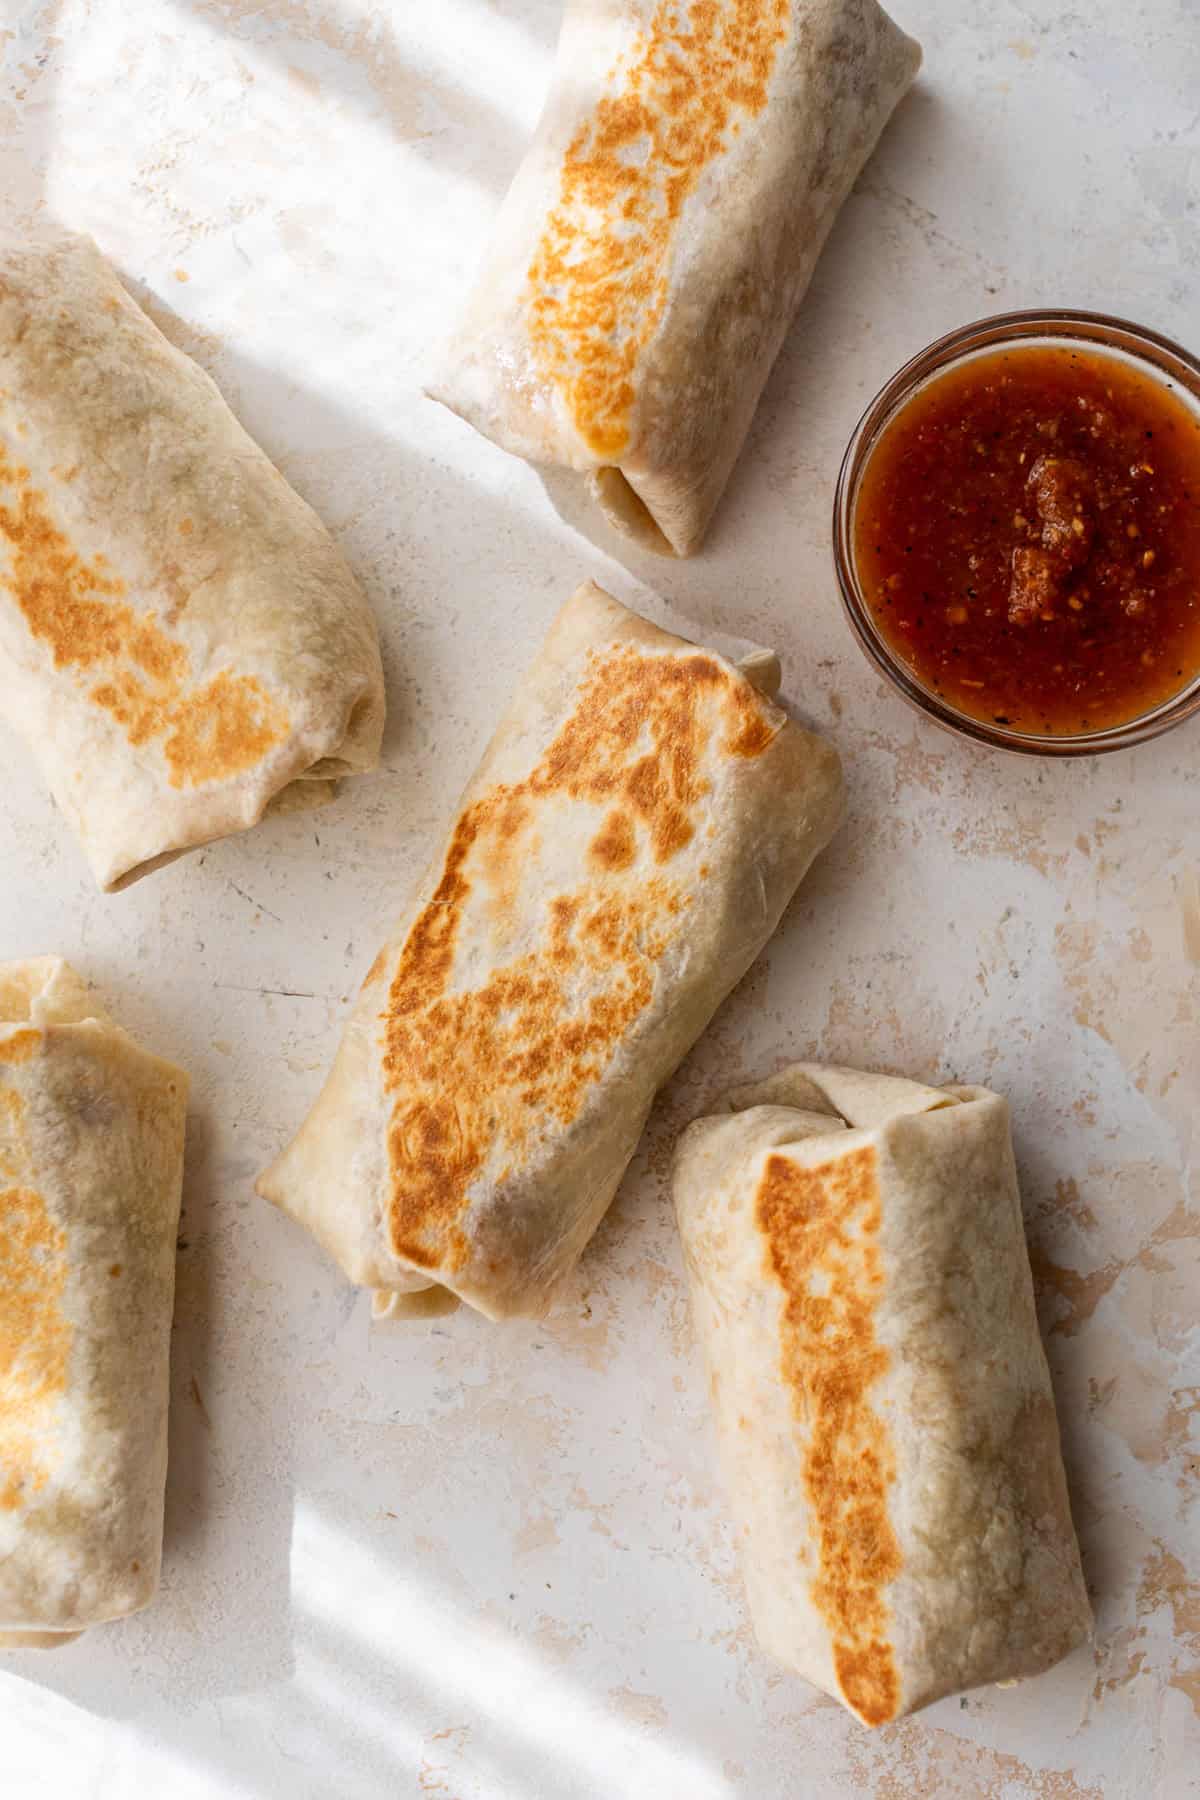
Seasoned refried beans, salsa, and lots of melty cheese make for an epic Bean and Cheese Burrito recipe! This is one that’s all about technique and I’ll show you how to make sure your homemade burritos have the perfect golden crisp exterior and creamy filling.
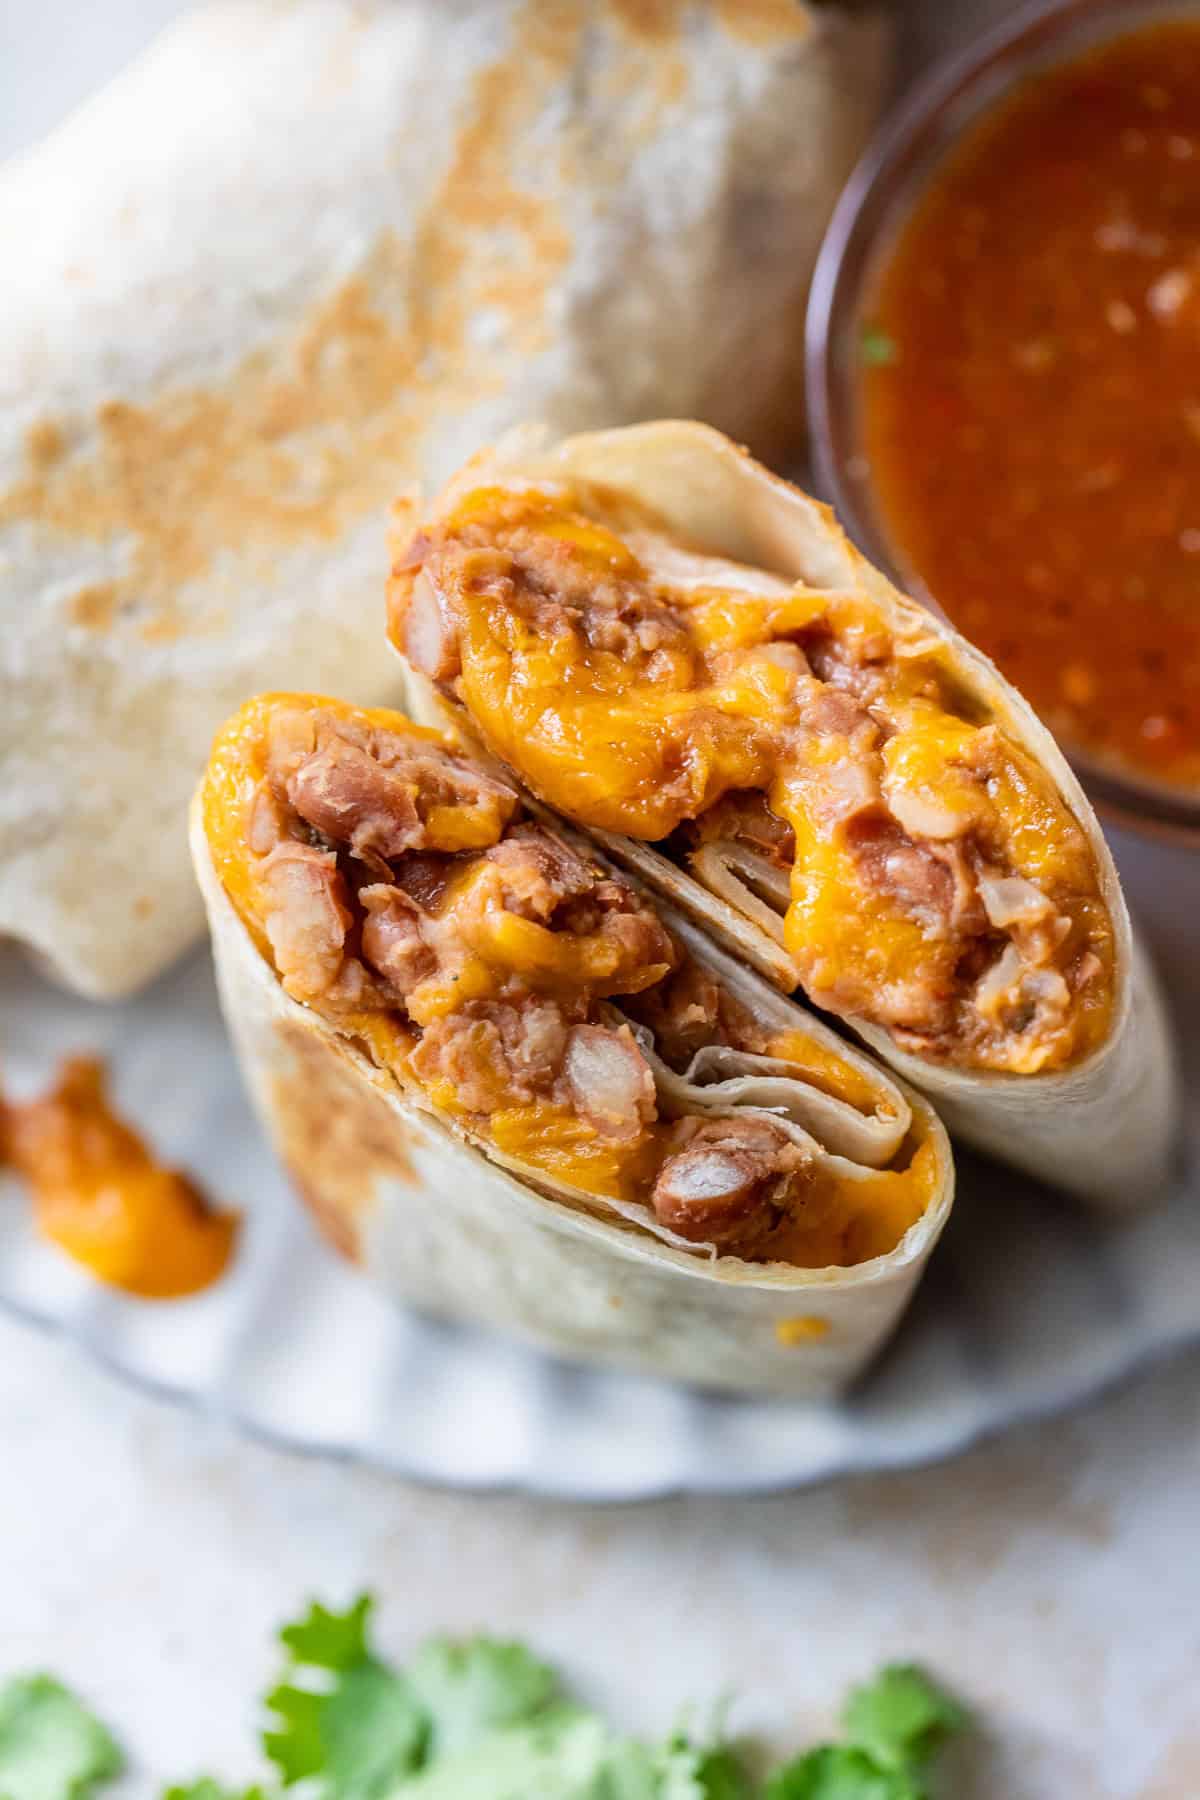
You’ll never buy frozen bean burritos again!

I know the old cliché is that college students subsist entirely on ramen noodle packets, but for me, bean and cheese burritos were the other half of my diet. They were cheap, they didn’t take up much space in the freezer, and they were a pretty good source of protein.
In other words, they were good enough. But when you make your own bean burritos at home, you can go from good enough to great. Fantastic, even!
And you can pop them in the freezer for your own DIY frozen bean and cheese burritos. (My Vegetarian Burritos and Beef Burritos are great for freezing too.)
There are a few tricks that I’ll share with you as we go along, but I found that the big game-changer was making my own refried beans instead of relying on the canned version. Not only is the flavor better, but the texture is on point too—perfectly creamy rather than pasty.
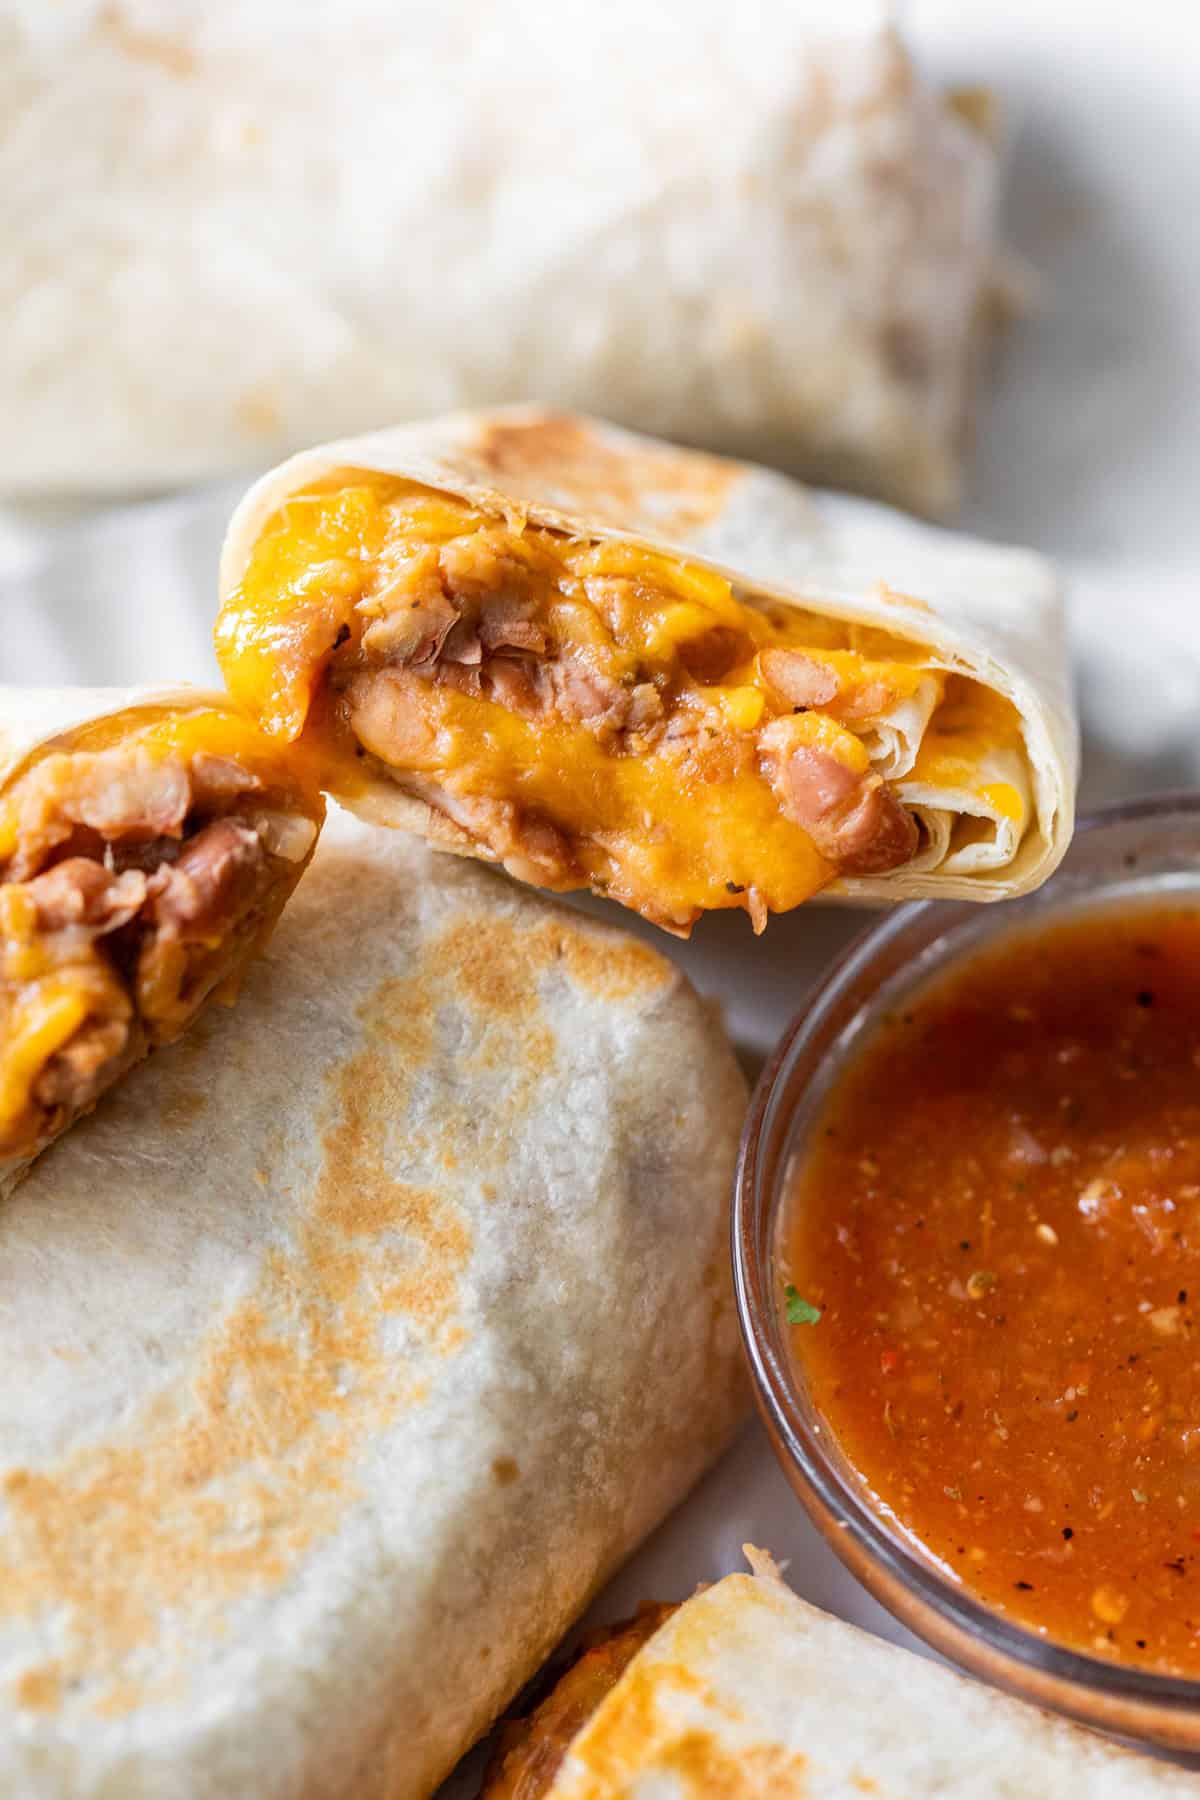
Oh, and don’t skip toasting the burritos in the skillet at the end! I think the contrast between the crispy outside and the creamy inside is what makes these burritos the best.
Ingredients and Substitutions
You’ll find the full list of ingredients in the recipe card below, but here are some notes to keep in mind.
- Canola Oil. Avocado oil or another neutral cooking oil works just as well.
- Yellow Onion. Dice the onion into evenly-sized pieces so they all cook at the same rate.
- Seasonings. Kosher salt, garlic powder, ground cumin, and black pepper give the beans some Tex-Mex flair.
- Pinto Beans. Pinto beans become especially creamy when mashed or pureed, making them an excellent choice for our refried beans (which, despite their name, are not even fried once, let alone twice).
- Prepared Salsa. I prefer a smooth, restaurant-style salsa because it disappears into the beans and creates a more cohesive filling. Chunky salsa works too if you want a little more texture.
- Sharp Cheddar Cheese. Okay, sharp cheddar isn’t exactly authentic Mexican cheese, but I appreciate the more assertive flavor with the bean filling. Monterey Jack also works if you want something milder.
- Flour Tortillas. Large 9- to 10-inch tortillas are best; they often (helpfully!) say “burrito size” on the packaging.
- Nonstick Spray or Butter. For crisping the burritos. I like butter because it adds a little flavor too.
Step-By-Step Instructions
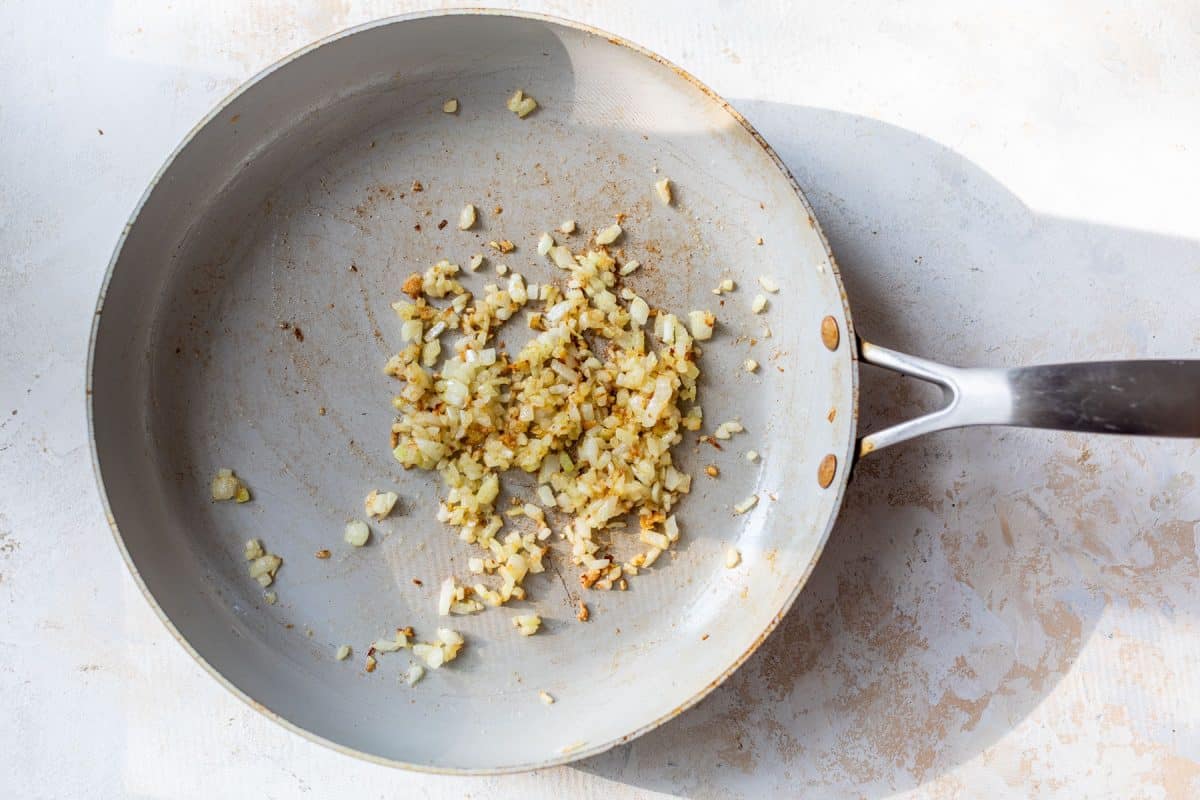
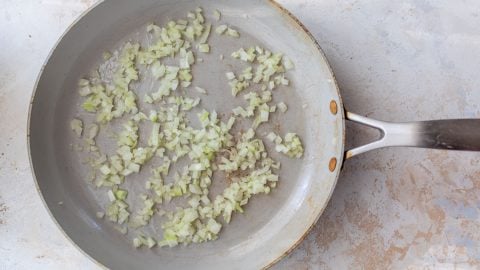
Cook the Onion (photo 1). Heat the oil in a large skillet over medium-low heat. Add the onion and cook for about 8 minutes, stirring occasionally, until it’s softened and beginning to turn golden.
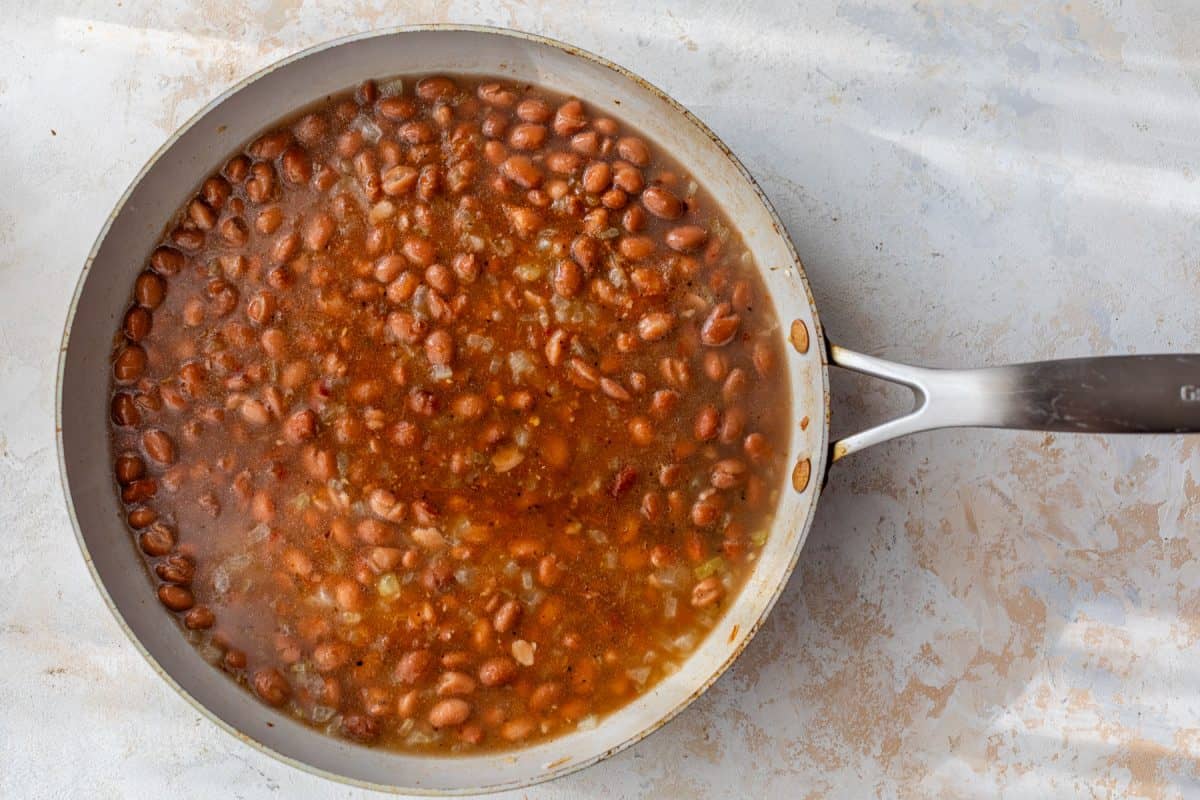
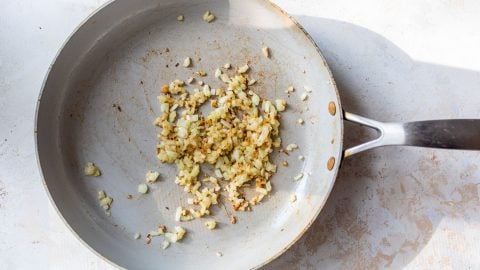
Build the Filling (photo 2). Stir in the seasonings and cook for 30 seconds, or until the spices are fragrant. Add a can of pinto beans with the liquid; drain and rinse the second can, then add it along with the water and salsa. Bring to a simmer.
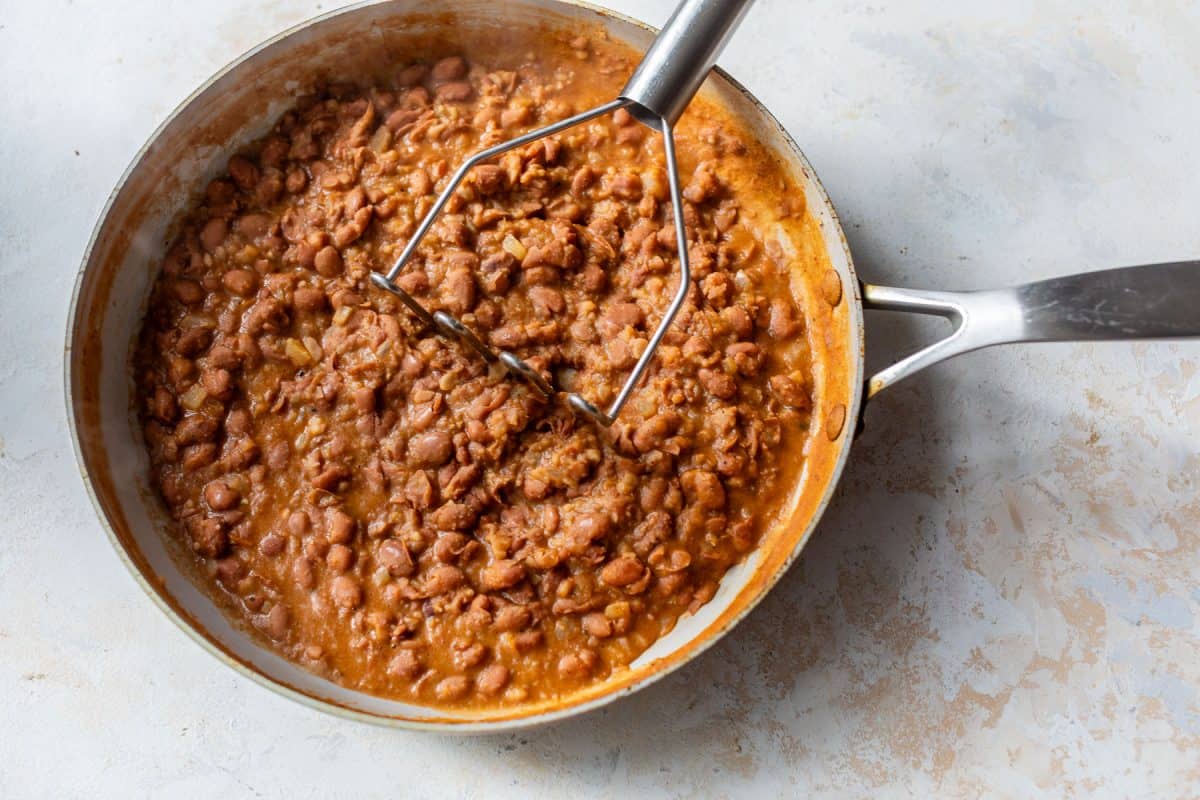
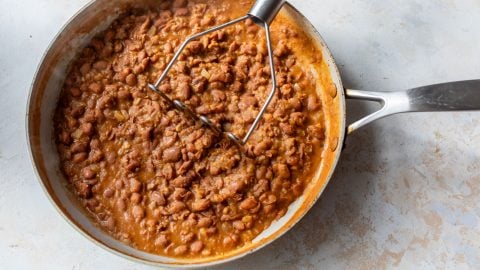
Mash the Beans (photo 3). Using a potato masher or the back of a wooden spoon, mash the beans until they’re as smooth or chunky as you like. Continue simmering for about 10 minutes, stirring often, until the beans are thickened but still creamy.
Warm the Tortillas. Stack the tortillas on a plate. Cover with a lightly damp paper towel and microwave for about 30 seconds. Warm tortillas are more pliable and less likely to crack.
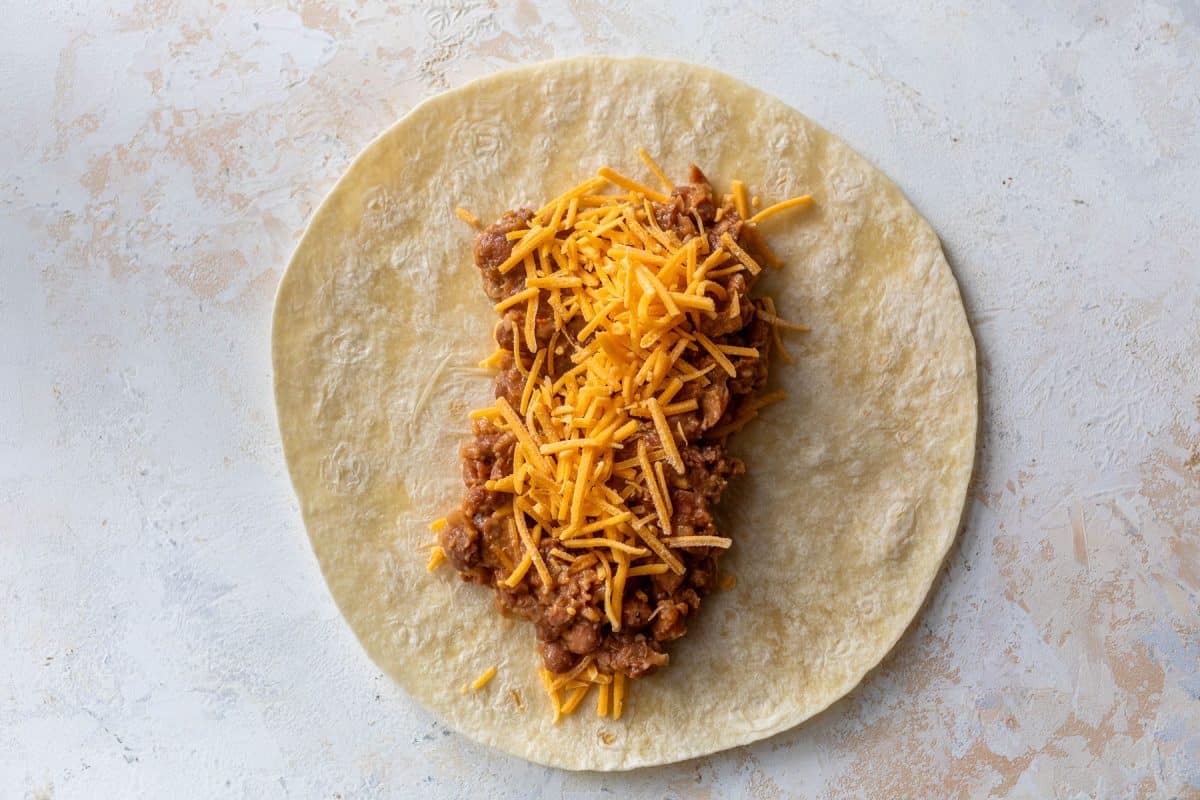
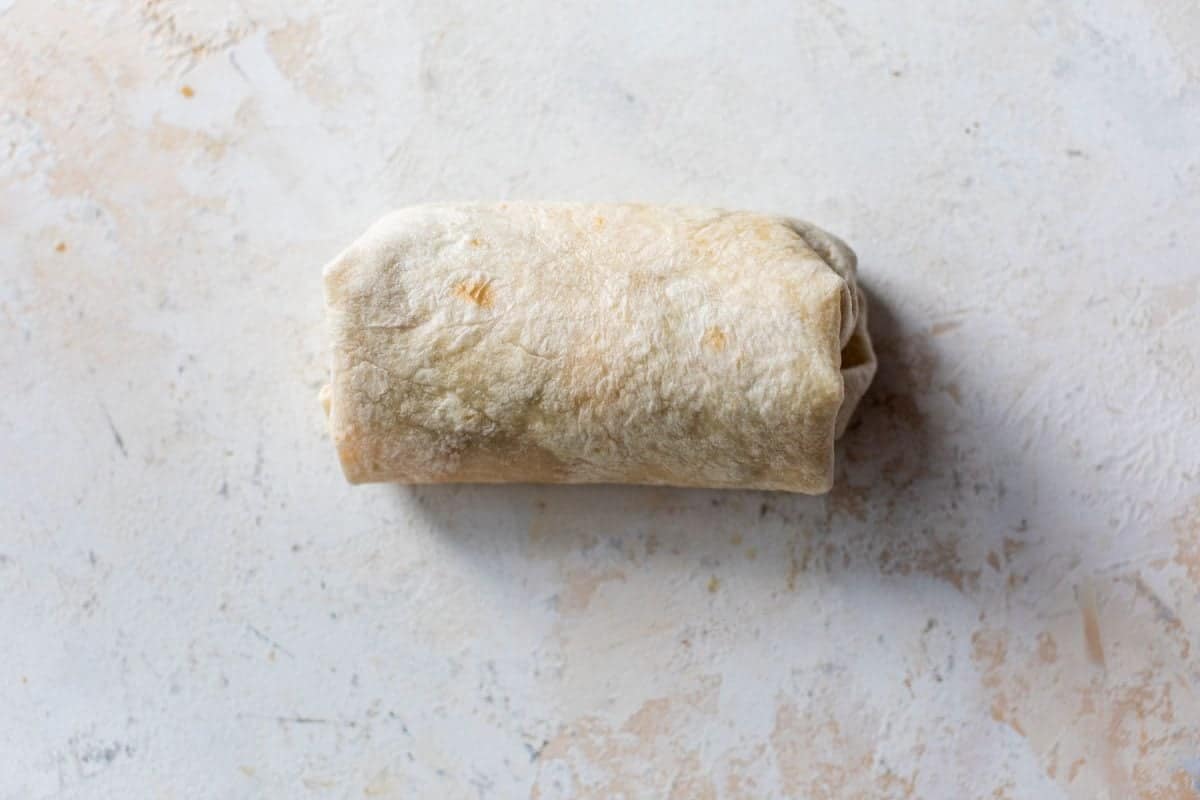
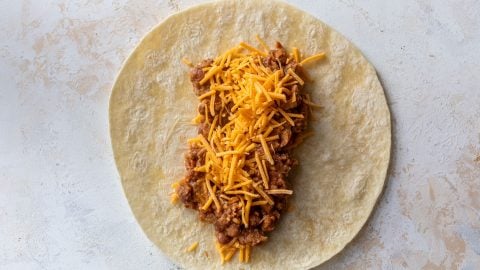
Assemble. Sprinkle about 2 heaping tablespoons of cheese down the center of each tortilla. Top with about ½ cup bean filling and 2 tablespoons of cheese (photo 4). Fold in the short sides first, then roll tightly from one long side to the other (photo 5).
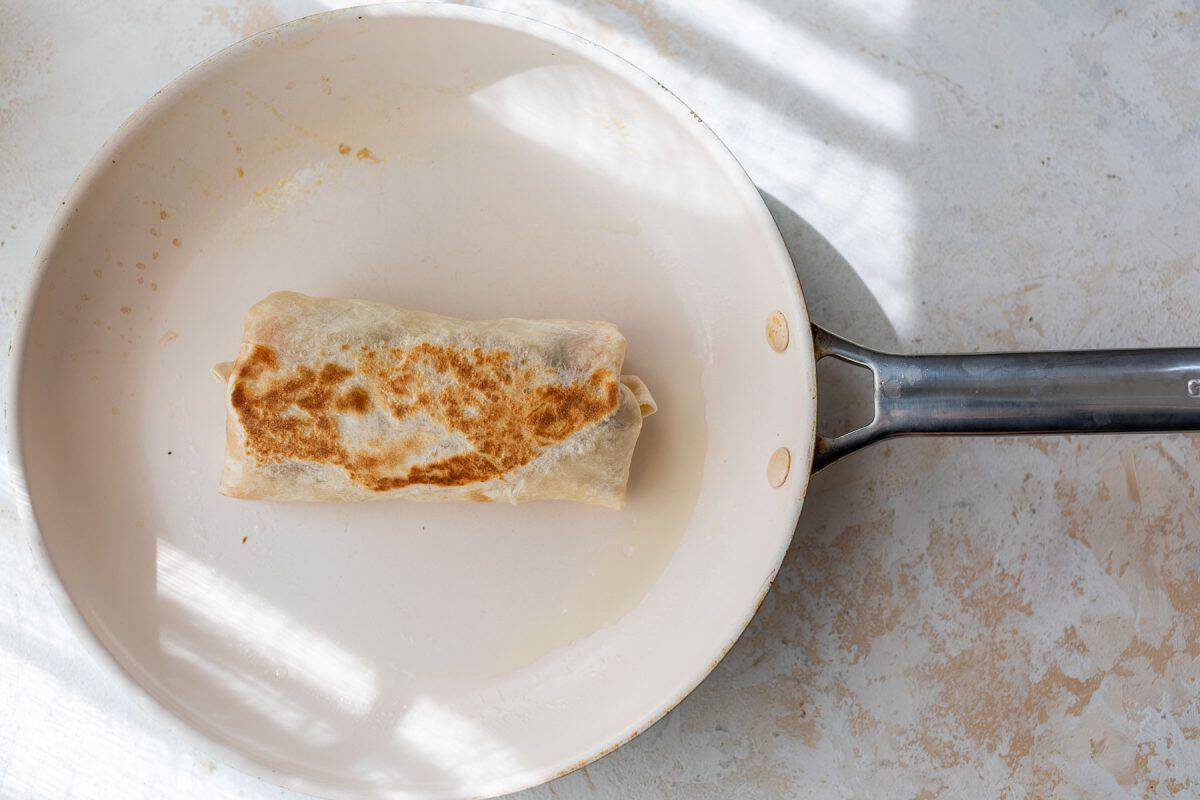
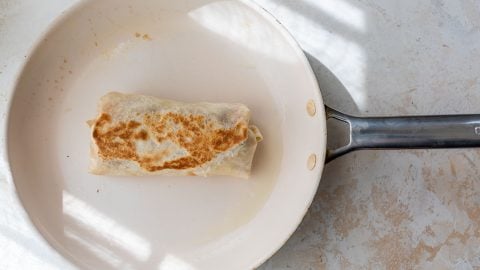
Crisp the Burritos (photo 6). Heat a nonstick skillet over medium heat. Lightly coat with nonstick spray or melt a small amount of butter. Place the burrito seam-side down. Cook for 1 to 2 minutes per side, until golden brown and crisp. Cool slightly, then slice and ENJOY!
What to Serve with Bean and Cheese Burritos
- Dipping and Topping Options. Like sour cream, Guacamole, Salsa Roja, and Cilantro Lime Crema.
- Rice. Cilantro Lime Rice would be perfect!
- Salad. This Mexican Street Corn Salad is always a crowd-pleaser.
Bean and Cheese Burrito
Video
Email Me the Recipe!
From time to time, we’ll send you Well Plated emails. You can unsubscribe anytime. Have an account? Log In.
Ingredients
- 1 ½ tablespoons canola oil or similar neutral cooking oil
- ½ cup yellow onion diced
- ½ teaspoon kosher salt
- ¼ teaspoon garlic powder
- ¼ teaspoon ground cumin
- ¼ teaspoon ground black pepper
- 2 15-ounce cans pinto beans
- ½ cup water
- ⅔ cup prepared salsa plus additional for serving
- 2 cups shredded sharp cheddar cheese or Monterey Jack
- 6 large flour tortillas 9- to 10-inches
- Nonstick spray or butter, for crisping the burritos
Instructions
- In a large skillet, heat the oil over medium-low. Sauté the onion until softened and turning golden, about 8 minutes.
- Stir in the salt, garlic powder, cumin, and black pepper, coating the onions.
- Add one can of pinto beans with its liquid. Rinse and drain the second can of beans, then add to the pan. Add the water and salsa.
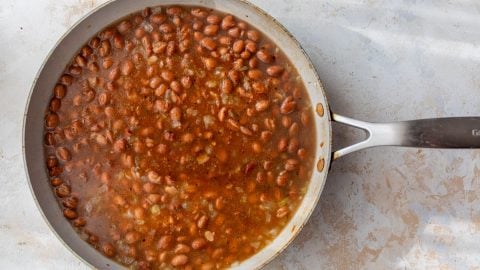
- Bring to a simmer over medium-high heat. With a potato masher or the back or a large spoon, lightly mash the beans and stir, leaving them as smooth or chunky as you like. Continue simmering, stirring often to prevent sticking, until the beans are thickened but spreadable, about 10 minutes. Taste and adjust the seasoning as you like.
- To make the tortillas easier to roll, stack them on a plate, cover with a lightly damp paper towel, and microwave for 30 seconds.
- Assemble the burritos: Down the center of each tortilla, sprinkle a 2 heaping tablespoons of cheese so it forms a line. Top with one-sixth of the mashed beans (about 1/2 cup). Add another 2 heaping tablespoons cheese on top. Fold the short sides of the tortillas over the filling to seal the ends, then lift one of the long sides up and over the filling, rolling to seal. Repeat with the remaining burritos.
- When ready to eat, warm a medium nonstick skillet over medium heat. Lightly mist with nonstick spray (or melt a little butter in the skillet). Place a burrito in the skillet seamside down. Cook on each side until golden, 1 to 2 minutes per side. Let cool a few minutes, then slice and serve.
Notes
- TO STORE: Wrap leftover burritos individually and refrigerate for up to 4 days.
- TO FREEZE: Wrap each burrito tightly in foil or plastic wrap, then place in a freezer-safe bag for up to 3 months.
- TO REHEAT: For the crispiest tortilla, warm thawed burritos in a skillet over medium heat until heated through. You can also microwave them for convenience, then finish them in the skillet for a minute or two if you’d like the outside crisp.



I wasn’t expecting a basic bean and cheese burrito to be this satisfying, but it really hit the spot. The filling was hearty, the cheese was nice and melty, and the tortilla got slightly crisp when I heated it. So good and so easy.
So glad to hear you enjoyed it, Cheska! Thank you!
My kids love burritos, so I had a feeling these would be a favorite. I let them choose their own toppings, and they had so much fun making them just the way they wanted. They especially loved the cheesy filling. This was such a hit with my family. Thank you so much!
Yay! So happy to hear that they were a hit! Thank you Naomi!
Wonderful tasting and easy to prepare. I used Smokey cheddar, and added 1/2 # ground meat. Made a creamy chipotle dipping sauce. Do not skip the last step of pan frying the burritos. Game changer!!!
Love the idea of smokey cheddar! Thanks Cynthia!
Wow! This recipe far exceeded my expectations- they were delicious! It was nice to have something a little different for dinner- I can’t wait to make them again!
Glad to hear you enjoyed the burritos, Stacy! They look great!
My daughter loves helping me make burritos, so I let her fill and roll these. She kept adding more cheese than I probably would have, but honestly, they turned out delicious. She was proud of making her own dinner too. I’ll definitely be making a bigger batch next time.
This makes me so happy to hear, Hailey! Thank you!
I made these and did like the finished product. I felt the added water was not necessary since it increased the liquid content and therefore needing longer longer cooking to thicken. I also felt doubling the spices were necessary-at least for our taste- since the filling tasted someone bland.
Thanks for the feedback, Sherri!
Made this for dinner tonight, super yummy (baby and adults enjoyed!). Another winner. Thanks, Erin!
So glad to hear it was a hit, Hannah! Thank you!
So easy and delicious! My kids asked for seconds! We added cooked chicken in with the bean mixture and put in less cheese. Yum!
Great idea! Thank you Katie!
This was soooo good! Everyone loved them, even our picky eaters. I will definitely make this again. Every Well Plated recipe I’ve made is delicious!
Thank you so much, Lisa!