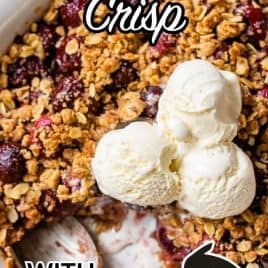

This old-fashioned Cherry Crisp is what summer fruit dessert dreams are made of. Loaded with your choice of sweet or tart cherries and topped with buttery, brown-sugary baked oatmeal crisp magic, this quick and easy recipe will have everyone hovering in the kitchen.

5 Star Review
“I’ve lost track of how many times we’ve made this! Everyone loves the topping and its great with sweet or tart cherries.”
— Olivia —
You. I know you. You’re that sneaky scoundrel who stole more than your share of the wondrous topping off of my cherry crisp.
I’m only upset because you beat me to it.
Here to deliver justice to all: an EXTRA oat topping homemade cherry crisp!
No more disappointment, no more topping fights, no more inappropriately naked fruit fillings.
Thanks to an overload of oat topping, there can now be peace, harmony, and total silence as we bury our faces in servings of homemade cherry crisp with fair and equal topping distribution. You’re welcome!
Tip!
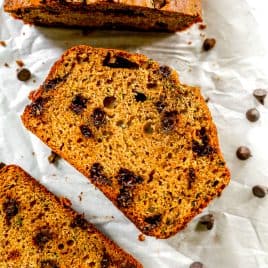
If you are all about extra crisp topping, don’t miss this Peach Crisp, which has an overload of crumbly oat streusel.

While cherry (or any summer fruit) crisp topping does have divine powers and has been known to cause feuds, for me it’s all about the cherries.
I simply ADORE fresh cherries (to the extent that I had to buy this cherry pitter to keep up with my mass consumption) and consider their peak season cruelly short.
All the more reason to bake a fresh cherry crisp!
Types of Cherries for Cherry Crisp
When it comes to cherry crisp, the type of cherry you choose really comes down to the other ingredients in the recipe, seasonal availability and ultimately, personal preference.
Sweet Cherries
- Bing and Rainier are among the most common sweet cherry varieties in the United States.
- Bing cherries have darker red skin and flesh while Rainier cherries have a mottled bright red and yellow exterior.
- When baking with sweet cherries, lemon juice is often added to balance their sweetness.
Tart Cherries
- Montmorency cherries are the most common tart cherry you’ll see in supermarkets.
- Grown in Michigan and upper Wisconsin, you can find fresh tart cherries occasionally but they are a precious commodity due to their short growing season (our farmers markets sell out of them by 9 am). Most often, you see them frozen or canned.
- When baking with tart cherries, extra sugar is often added to the recipe to help balance their sourness.
If you can find sour cherries, USE THEM! Their flavor is spectacularly intense. If not, this cherry crisp is still wonderful with sweet cherries too (Bing cherries are what you see pictured here).

Whether you’re all about the filling or all about the topping, I think we can all agree that the beauty of cherry crisp is the way a few simple ingredients—fresh fruit, oatmeal, brown sugar, butter—bake together into something more meaningful, comforting, and classically delectable than any single component on its own.
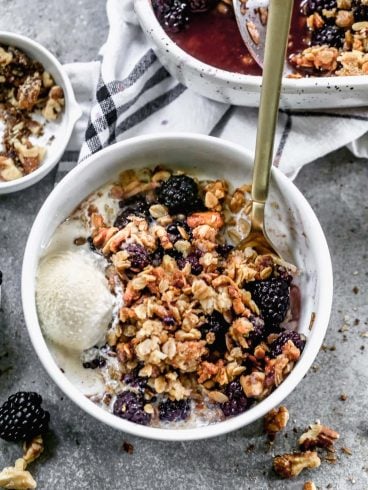
(I submit this Slow Cooker Triple Berry Crisp as further evidence.)
Cherry Crisp Vs. Cobbler Vs. Crumble
While these terms are often used interchangeably, there are actually very distinct differences between these three desserts.
- Cherry Crisp. A cherry base with a topping that includes oats as well as flour, sugar and butter. It’s usually crunchier than its cousins, hence the “crisp” name.
- Cherry Crumble. Almost identical to a crisp, minus the oats. This makes the topping resemble a denser streusel—similar to what you find on bakery-style muffins (like on these Coffee Cake Muffins).
- Cherry Cobbler. Incorporates either a biscuit-like or cake-like batter (like with this Dutch Oven Peach Cobbler) that is dolloped on top of the fruit and then forms a light crust over the fruit filling once baked.
How are they similar? Beyond the cherries, they’re all also super easy to make and super delicious.
Ingredients and Substitutions
You’ll find the full list of ingredients in the recipe card below, but here are some notes to keep in mind.
- Cherries. The stars of the show (just don’t tell the topping). I’ve made this recipe using both sweet bing cherries and tart cherries too. Both are delish!
- White Sugar. If you opt for tart cherries, I recommend adding an additonal 2 tablespoons of sugar to balance the flavors.
- Rolled Oats. The key ingredient that gives this topping its oatmeal cookie-like texture and appearance.
- Cornstarch. Thickens the cherry filling.
- Vanilla and Almond Extract. You can’t go wrong with a little vanilla and the almond extract adds that hint of something extra that makes this cherry crisp truly divine.
- All-Purpose and Whole Wheat Flour. Using a 50/50 split gives this crisp a little boost of nutrients like vitamin B1, B3, and B5, along with riboflavin, folate, iron, and calcium.
- Brown Sugar. Use light brown sugar or dark brown sugar if you prefer a richer molasses flavor in your topping.
- Cinnamon. Everything is better with a little dusting of cinnamon.

Step-By-Step Instructions
- Preheat oven to 375 degrees F and combine the filling ingredients together in a bowl.

- Transfer the filling (with its juices) to a greased baking dish.

- In a separate bowl, combine the topping ingredients.

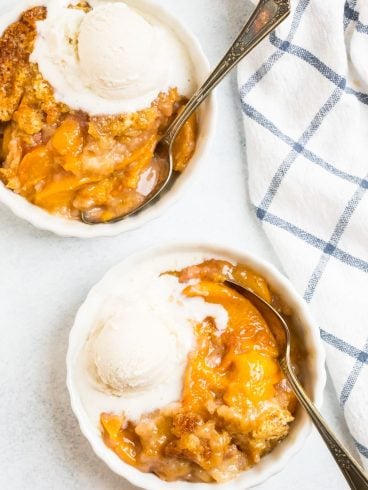
- Sprinkle the topping evenly over the cherries and then bake at 375 degrees F until bubbly and golden. Let stand 10 minutes and then serve warm. ENJOY!
In case you were wondering (or looking for validation), cherry crisp is totally breakfast-appropriate.
Try it with a scoop of plain Greek yogurt. Not only will you feel like a champion in the morning, but also you’ll beat your siblings/Labrador/life partner to the leftovers.


Cherry Crisp
Email Me the Recipe!
From time to time, we’ll send you Well Plated emails. You can unsubscribe anytime. Have an account? Log In.
Ingredients
For the Cherry Filling:
- 5 cups sweet or sour cherries pitted (about 4 3/4 pounds); fresh or frozen and thawed
- ⅓ cup granulated sugar
- 2 tablespoons cornstarch
- 1 tablespoon fresh lemon juice
- ½ teaspoon pure vanilla extract
- ¼ teaspoon pure almond extract
For the Topping:
- 1 cup old fashioned rolled oats
- ⅓ cup all purpose flour
- ⅓ whole wheat flour
- ½ cup lightly packed brown sugar (light or dark)
- 1 teaspoon ground cinnamon
- ½ teaspoon kosher salt
- ½ cup unsalted butter (1 stick) melted
- Vanilla ice cream, whipped cream, or yogurt for serving.
Instructions
- Place rack in the center of oven and preheat oven to 375 degrees F. Lightly coat a 9×9-inch pan or 11×7-inch baking dish with nonstick spray.
- Prepare the filling: In a large bowl, gently stir together the cherries, granulated sugar, cornstarch, lemon juice, vanilla, and almond. Pour into the prepared baking dish in an even layer (add any juices that collect on the bottom of the bowl too).

- Prepare the topping: In a medium bowl, stir together the oats, all-purpose flour, whole wheat flour, brown sugar, cinnamon, and salt.
- Pour in the melted butter, then stir until the mixture is combined and evenly moistened.

- Sprinkle the topping evenly over the cherries.

- Bake for 30 to 40 minutes, or until the filling is bubbly and topping is golden. Let stand 10 minutes. Serve warm topped with vanilla ice cream, whipped cream, or yogurt.
Notes
-
If using sour cherries (YOU ARE SO LUCKY!), add 2 tablespoons additional sugar to the filling.
- To Store. Cover the crisp, and store it in the refrigerator for up to 3 days.
- To Reheat. To breathe life back into the topping, I like to warm leftovers in the oven at 350 degrees F until hot. You can also reheat this recipe in the microwave in a pinch.
- To Freeze. Store cherry crisp in an airtight freezer-safe storage container for up to 3 months. Let thaw overnight in the refrigerator before reheating.


This recipe was enjoyed by my guests. However, the amount of cherries was way off. The recipe says 5 cups of cherries (about 4 3/4 lbs ) I purchased a 5 lb. bag of frozen tart cherries. There were 17 cups of frozen cherries in the bag. I decided to use 15 cups (I should have used all 17 cups) When they thawed I had 8 cups. I was confused as to how to make the filling. I ended up using the 8 cups of thawed cherries and doubled the other filling ingredients. This seemed to work pretty well. I just wish I had used some of the juice in the filling, as it seemed a little on the dry side. I put the cherry filling in an oval 2-quart casserole dish. I did not double the topping. All the guests but one thought the sweetness was just right. One thought it was too tart. A few guests said I should use more cherries next time. Perhaps I need to find a smaller casserole so the cherries will be deeper. That 5 lb. bag of cherries cost $23. This is a pretty expensive dessert. We had 7 people eating the crisp and I had one small container for leftovers.
Delicious, and so fun to make! Great with vanilla ice cream!