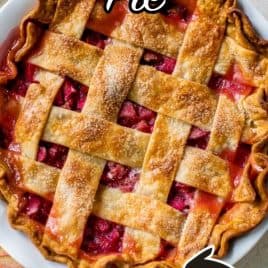

This classic Rhubarb Pie recipe is tangy and sweet, with a simple jammy filling that lets the tart flavor of rhubarb shine! A flaky, buttery pie crust brings it all together.

Old-fashioned rhubarb pie is a sure sign of warmer days ahead!

At the end of dreary winter, bright rhubarb is especially cheery. It’s some of the first produce to hit the farmer’s market.
(But don’t worry, if it hasn’t arrived where you live yet, this pie works great with frozen rhubarb.)
This, my friends, is a rhubarb pie is for rhubarb lovers. Instead of cups of sugar that drown out the rhubarb, this pie uses a more moderate amount so the rhubarb can be its bright, tangy self. It’s still sweet enough to taste like dessert.
Let’s talk about what else makes it so good:
- It Starts With a Winning Crust. My Whole Wheat Pie Crust is a reader-favorite—as buttery and flaky as you want a pie crust to be, made easy in the food processor. You can swap your favorite pie crust (or use store-bought to speed things up).
- Easy to Put Together. You don’t need to be a master baker to make this tasty treat—you don’t need to precook the filling, and it’s simple enough for beginners. You can wow with the lattice top if you want to go the extra mile, but it’s just as delicious without it.
- It’s the Best Way to Enjoy Rhubarb. Rhubarb lovers unite! This is the dessert for enjoying rhubarb in all of its tart-and-tangy glory. (My Rhubarb Scones, Rhubarb Ice Cream, and Strawberry Rhubarb Crisp also have just enough sugar to make the rhubarb palatable and yummy, without completely negating its special natural tartness.)

Ingredients and Substitutions
You’ll find the full list of ingredients in the recipe card below, but here are some notes to keep in mind.
- Pie Crust. I use my Darn Good Whole Wheat Pie Crust, but you can substitute your own go-to pie dough recipe—just be sure you’ve got enough dough to make a top and bottom crust (or you can make a rhubarb crumble crust with your favorite crumble topping).
- Rhubarb. Use fresh rhubarb stalks or frozen.
- Granulated Sugar. You can add more sugar if you’d like, but my testers agreed that 3/4 cup was the perfect amount for balancing the sweet-and-tart flavors in this rhubarb pie recipe.
- All-Purpose Flour. As the rhubarb bakes, it will release juices; the flour helps thicken them for a perfect jammy filling.
- Freshly Grated Nutmeg. Optional, but freshly grated nutmeg is really something special. It will give the pie a very subtle warmth.
- Unsalted Butter. Dot on top of your fruit pie filling to make it glossy (and delish).
- Egg. Beat it with a bit of water to make an egg wash for that bakery-style sheen.
- Turbinado Sugar. Or another coarse sugar you have on hand like Demerara.
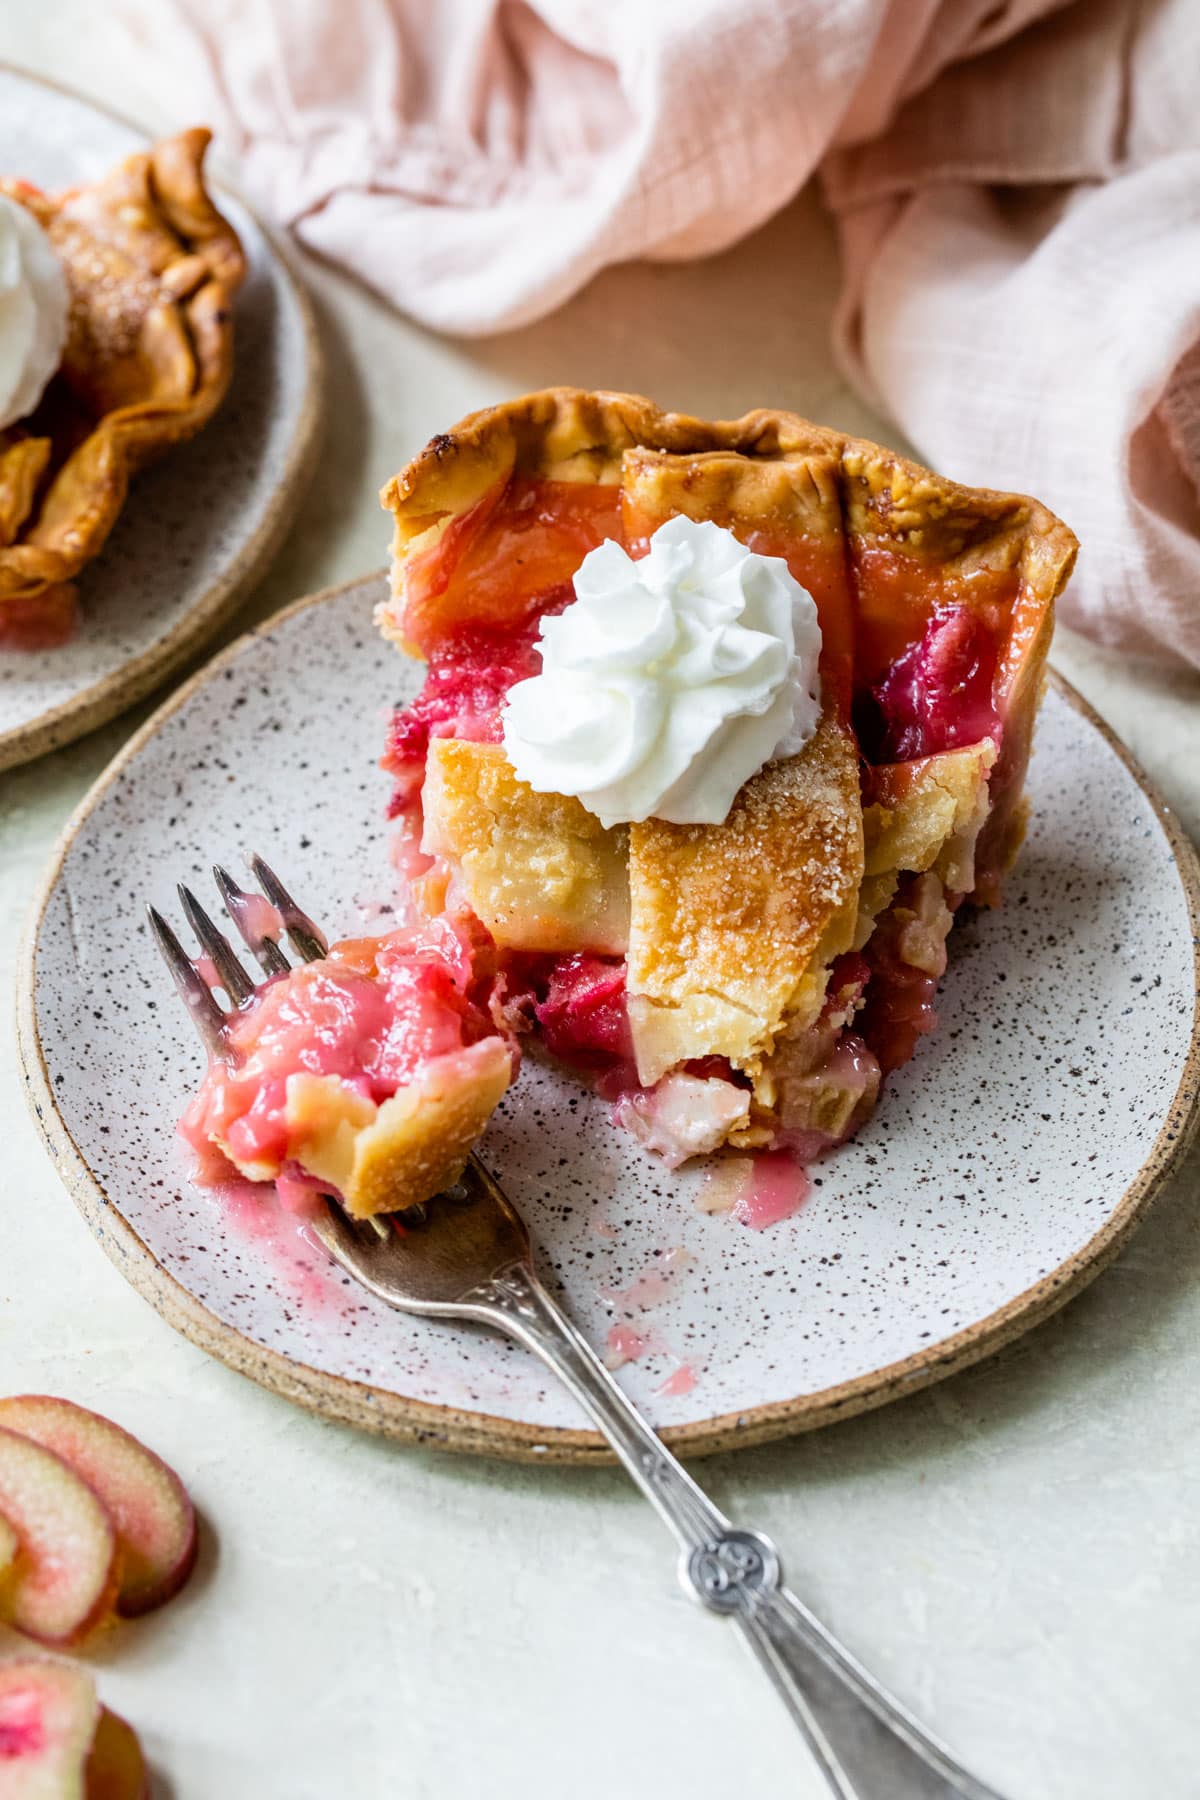
- Whipped Cream. I think rhubarb pie is best enjoyed on its own, or with a dollop of whipped cream on top of the pie. While I normally adore my pies a la mode, rhubarb pie I prefer without vanilla ice cream, which can clash (but you do you!).
Step-By-Step Instructions


Make the Pie Crust. Divide the dough into two portions with one a little bit larger than the other. Chill as directed.
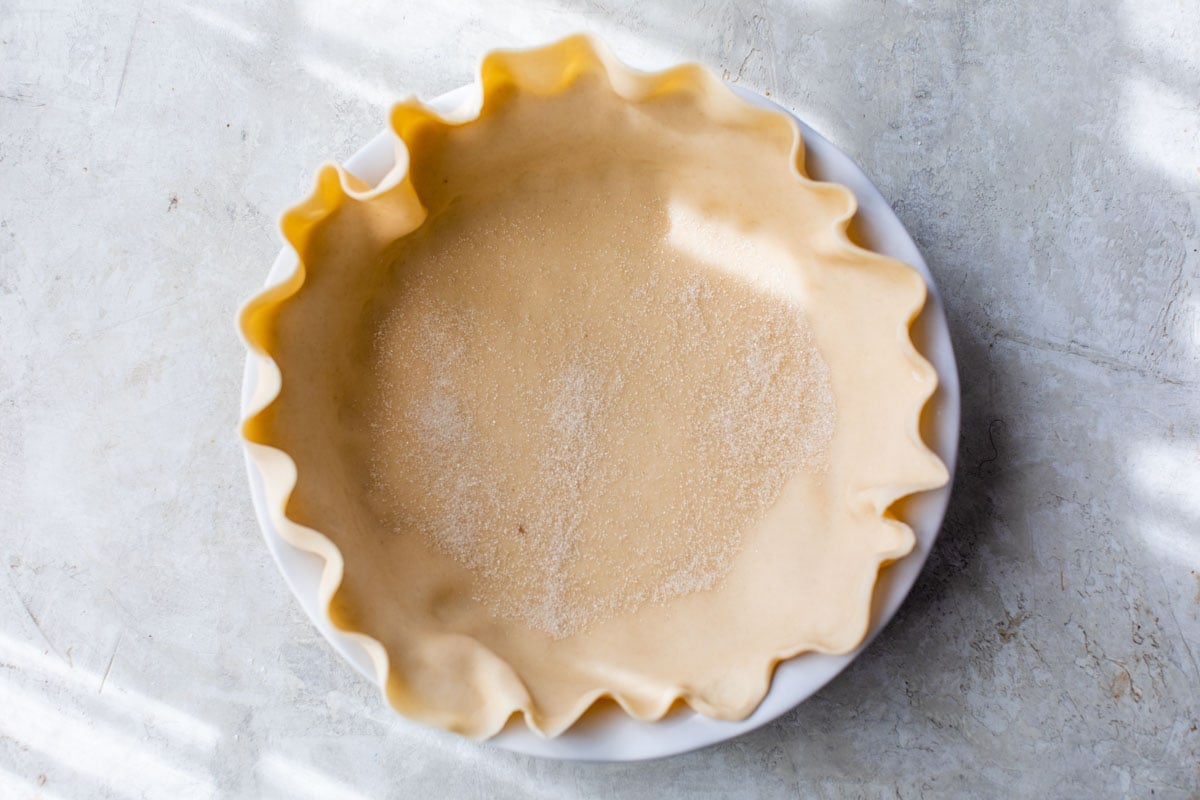
Roll the Crusts (photo 1). Place the bigger one in a regular 9-inch pie dish.
Make the Filling (photo 2). Toss together all of the ingredients in a large bowl.
Assemble (photo 3). Add the remaining sugar to the crust, then pour in the filling, top with the butter, and add the top crust. Do a lattice or another geometric shape if you feel fancy!
Add the Egg Wash (photo 4). This gives the pie a pretty sheen. Milk or cream work too.
Bake. You’ll do this at 2 temperatures. Start rhubarb pie at 425 degrees F for 15 minutes, then continue baking at 375 degrees F for 50 to 55 minutes.
Cool. Let the pie cool completely. It’s hard but worth it. ENJOY!
What to Serve with Rhubarb Pie
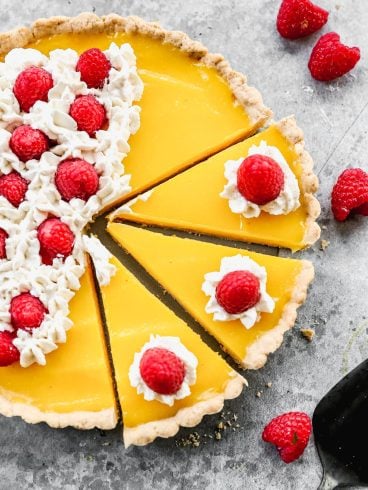
- Other Spring Desserts. If you’re putting together dessert options for a party, try pairing rhubarb pie with Strawberry Cream Cheese Pie or Strawberry Cake.
- Light Main Dishes. Healthy spring dishes like Green Goddess Salad will help you save room for dessert!
- Simple Toppings. A dollop of whipped cream is really all you need to make this rustic rhubarb pie shine, although a scoop of ice cream is also delish, especitlaly if the pie is warm. Or enjoy it all on its own.

Rhubarb Pie
Email Me the Recipe!
From time to time, we’ll send you Well Plated emails. You can unsubscribe anytime. Have an account? Log In.
Ingredients
- 1 double crust Darn Good Whole Wheat Pie Crust or your favorite pie crust or store-bought crust (enough for 2, 10-inch rounds)
- 5 cups sliced rhubarb about 1 1/3 pounds; if frozen, do not thaw
- ¾ cup plus 1 teaspoon granulated sugar*, divided
- 5 tablespoons all-purpose flour
- ⅛ teaspoon kosher salt
- ⅛ teaspoon freshly grated nutmeg optional
- 1 tablespoon unsalted butter cut into small pieces
- 1 large egg beaten with 1 teaspoon water for an egg wash**
- 1 tablespoon turbinado or similar coarse sugar
- Whipped cream*** optional for serving
Instructions
- Prepare the pie crust and chill for 1 hour as directed (or up to 2 days). When ready to bake, place a rack in the center of your oven preheat to 425°F.
- Divide the dough in two, making one half slightly larger than the other. Return the smaller half to the refrigerator.
- On a moderately floured work surface (I like to use a piece of parchment or wax paper so I can easily move the dough), roll out the larger half into a 12-inch circle (if it’s too stiff from being in the fridge, let it rest at room temperature for a few minutes, until you can roll it). When rolling, always work from the center of the dough outward, rotating the dough every now and then as you go (this will give you a better, more even circle, less tearing, and you’ll be able to gauge if the dough is sticking to your work surface, which you do not want). Work fast, because the dough gets sticky as it warms. Flour the work surface and your rolling pin as little as is manageable (but don’t be afraid to use flour if dough is sticking). If at any point the dough gets too sticky to handle, just pop it back in the fridge to firm up for a few minutes (this is where the parchment paper comes in handy). If you have any tears or cracks along the way, don’t stress. Just patch them together.

- Transfer the dough to a regular 9-inch pie plate (not deep dish)—I like to fold the circle over the rolling pin, then use the rolling pin to unfurl it gently into the plate. Ease the dough down into the plate (don’t pull to stretch it or it will bounce back). Pop into the freezer.
- On a sheet of parchment or wax paper, roll out the second (smaller) portion of dough in an 11-inch circle; if you’d like to make a lattice, cut it into 1-inch strips. Use the paper to place it in the refrigerator while you prepare the filling.
- In a large bowl, stir together the rhubarb, 3/4 cup granulated sugar, flour, salt, and nutmeg.
- Remove the bottom crust from the freezer. Sprinkle the remaining 1 teaspoon granulated sugar over the bottom. With a large spoon, transfer all of the rhubarb mixture (including any juices if the rhubarb is fresh or dry bits of flour and sugar if it’s frozen) to the plate, spreading it into an even layer.
- Scatter the butter over the top of the rhubarb filling.
- Drape the top crust over the filling (or arrange the lattice). Trim the pie crust to 1/2-inch overhang all the way around. Tuck the top crust under the bottom crust. Crimp the edges with your fingers (or keep it easy and simply press along the edges with the tines of a fork). If not using a lattice, with a sharp knife, cut 5 to 6 vents in the top.
- Use a dry brush to brush away any excess flour from the crust, then brush the crust all over with the eggwash.
- Place the pie on a parchment-lined baking sheet and sprinkle with the turbinado sugar. Bake on the center rack at 425°F for 15 minutes, then reduce the temperature to 375°F. Continue baking until the crust is deep golden and you see bits of filling bubbling out of the vents, about 50 to 55 minutes more, rotating the pan 180° halfway through (if your rhubarb was frozen, you might need to extend the baking time by 10 minutes or more). If at any point, the crust edges get too dark, shield the edges with foil or a pie crust guard.
- Let the pie cool at room temperature COMPLETELY! (This will take at least 4 hours and is hard but worth it). Slice and enjoy with whipped cream, or nothing at all!


Notes
- *The amount of sugar as written yields a tart, rhubarb-forward pie that we and our taste testers loved. If you like your pie sweeter, add an additional 1/4 cup.
- **If you prefer not to use an egg, you can brush the crust with half-and-half, cream, or milk.
- ***While I usually adore my fruit pies a la mode, rhubarb actually tastes better without ice cream. If you’d like to top it, serve with whipped cream.
- TO STORE: Wrap cooled rhubarb pie with foil or plastic wrap, or transfer leftovers to an airtight container. Store at room temperature for up to 5 days.
- TO FREEZE: Freeze for up to 2 months and let the pie thaw in the refrigerator before serving.


Can you substitute sugar with stevia? If yes, how much quantity to use for this recipe proportion?
Hi Shelly, I haven’t tried it so I wouldn’t be able to say how much would work. If you decide to experiment, I’d like to know how it goes!